Step by Step Guide
Video Tutorials
STEP 1
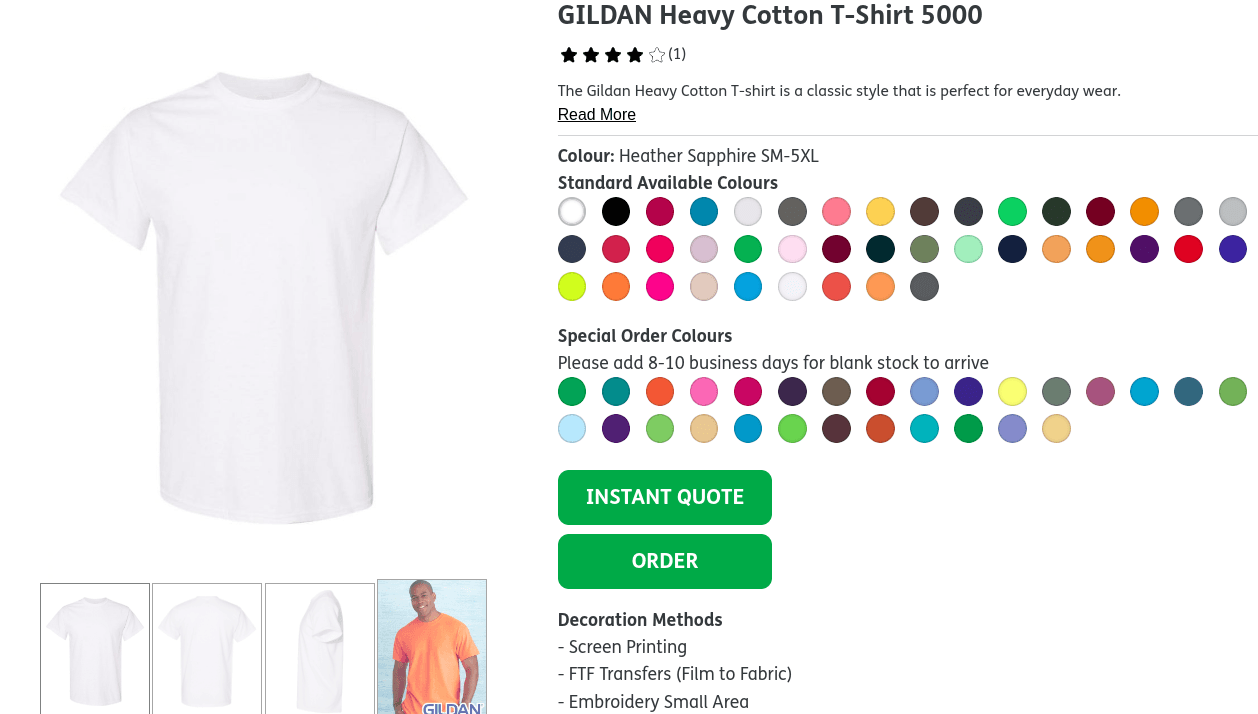
Choose your garment
Choose from our wide selection of blank items and find the right one for your custom project.
STEP 2
Click on Instant Quote or Order
It will take you to the quote system, follow the steps. For instant quote simply don't proceed to checkout
STEP 3
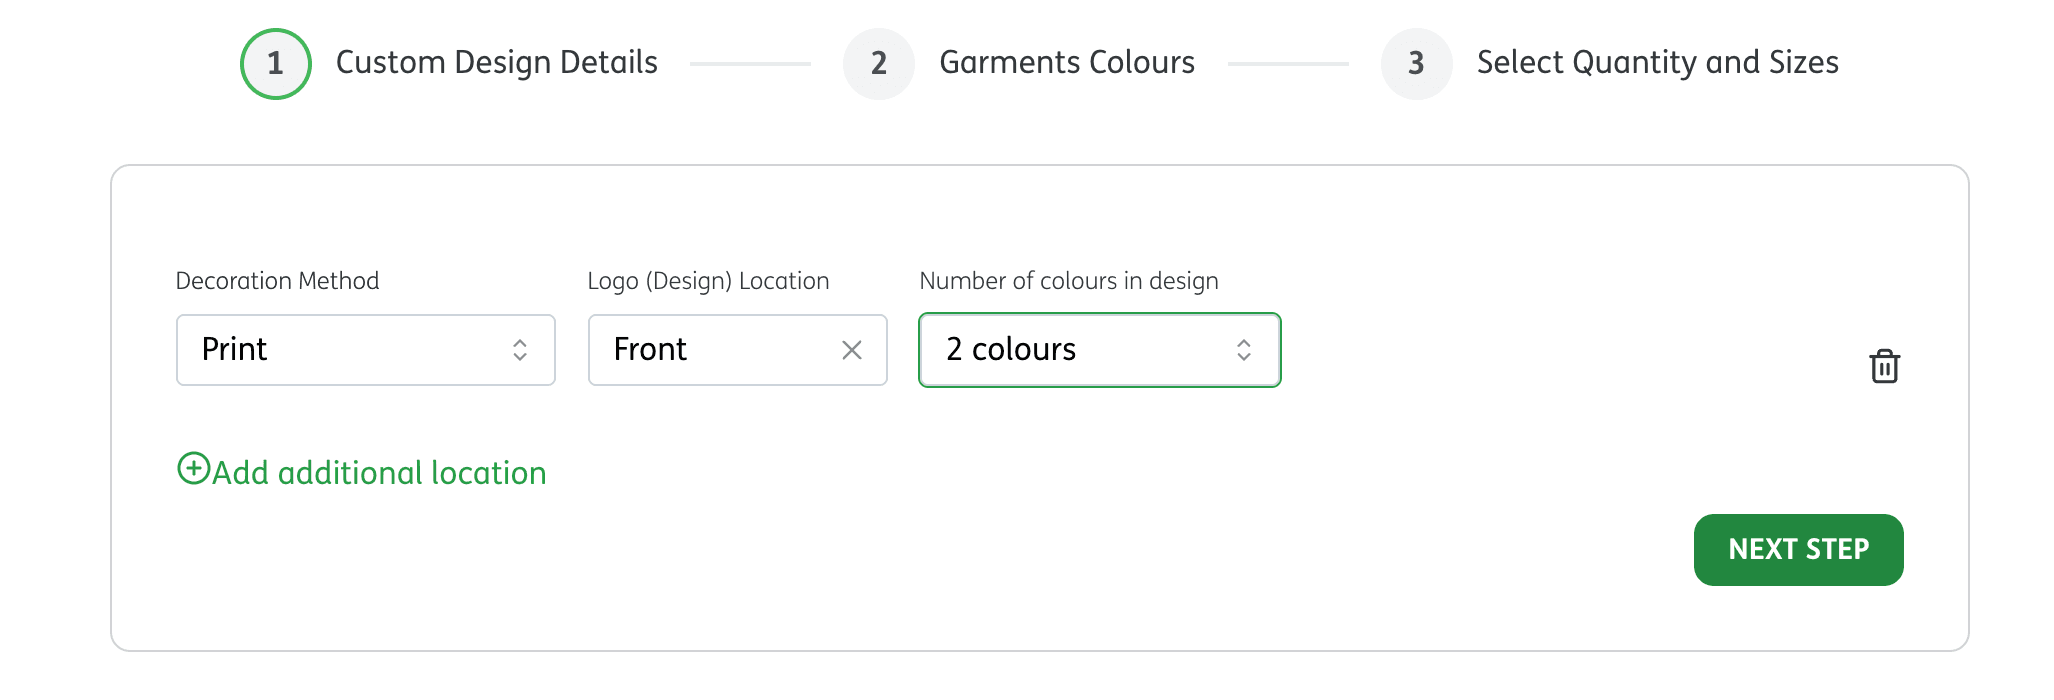
Enter logo's location on garment and logo's colours
1. Pick a location: Decide where you want your design or logo to appear. 2. Colors: Select the number of colours you think your design will have. If you're unsure, just pick what feels right. Our team, GetBold, will reach out if the final colour count needs any adjustments.
STEP 4
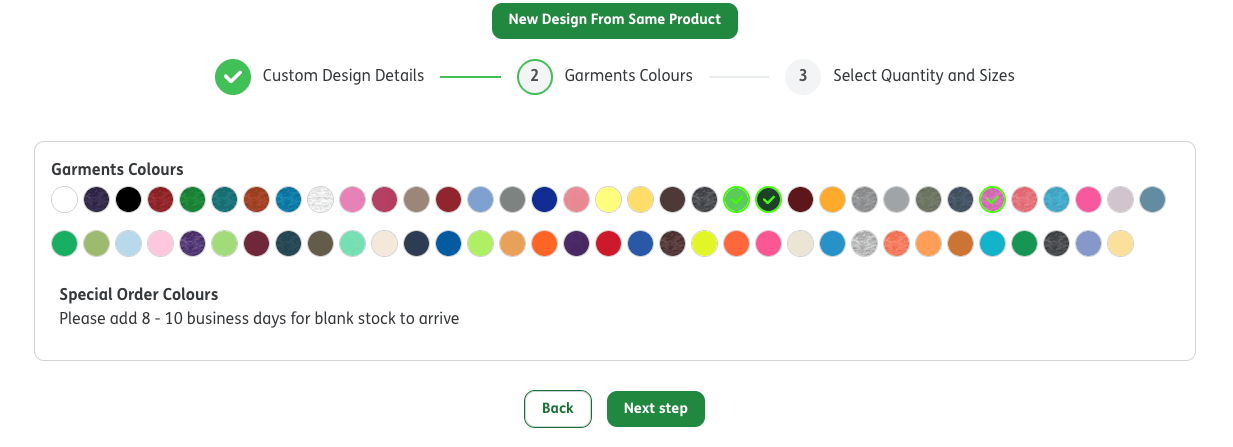
Choose Garments Colours
Select the colours of the garments themselves.
STEP 5
Select Quantity and Sizes
The more quantity you add the less you pay for each item
If you're just looking for a quick quote, you can enter your entire quantity in any regular size.
STEP 6
Add to Cart
Name your design when you add your order to cart. Naming it allows you to add other items to this design. You will add your artwork at the end of the checkout process.
STEP 6.1
More Items?
To add more items to this design, or to start a new design, start again at step 1 and follow the prompts. For a more detailed walkthrough, please watch the instructional videos.

STEP 7
Instant Quote or Proceed to checkout
If you only need a simple quote, (one item, one design) you are done. If you wish to quote more items, start again at step one and either add to this design or start a second design. The more you order per design, the cheaper the price is per unit. So as you add units, keep checking the prices in the cart. (watch the videos for more explanation). If you're ready to place your order, simply click Checkout.
STEP 8
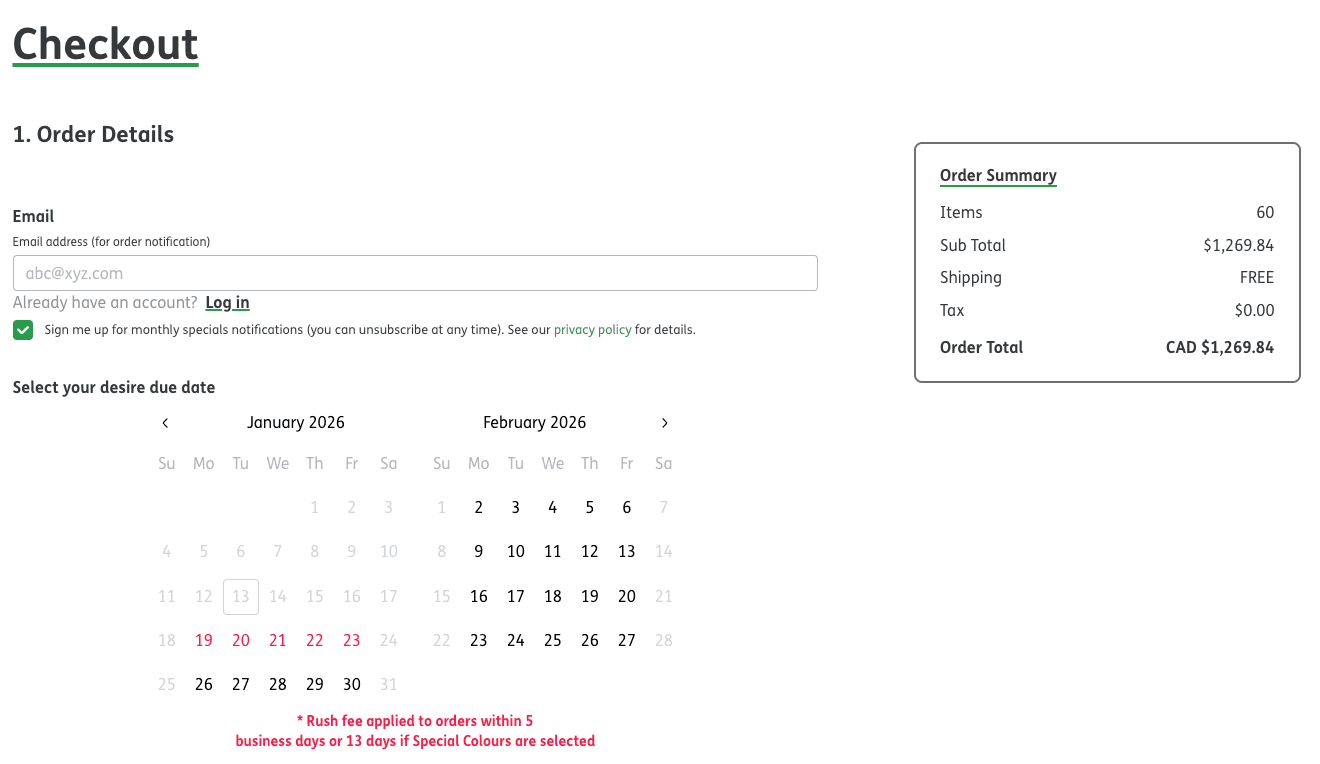
Checkout
Fill out all your information. The system will pre-select your due date based on our next available production date. However, if you need a different due date, you can request it by altering the selection on the calendar. If your chosen date is unavailable, or requires a rush fee, we'll notify you after receiving your order.
STEP 9
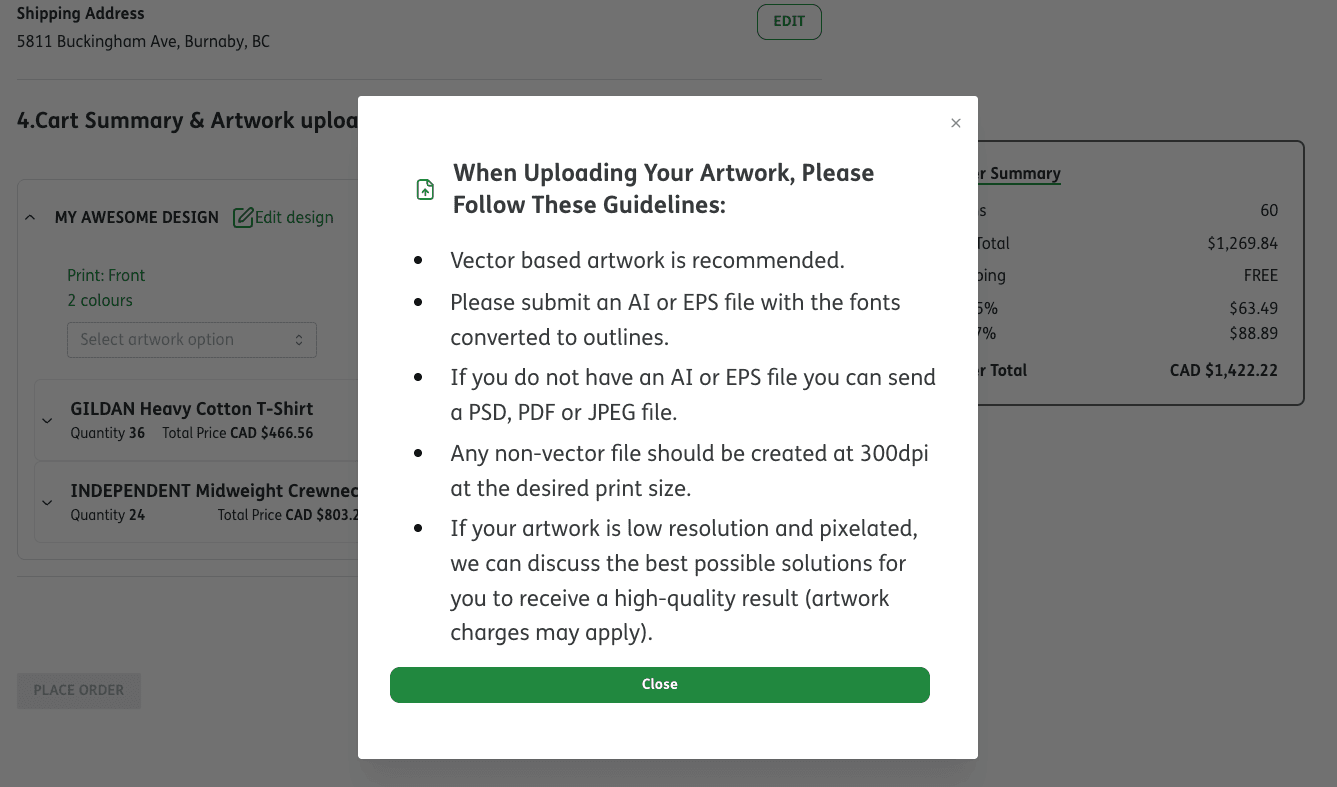
Upload your artwork
Here is where you add your artwork, logo or design. Please make sure your artwork follows the guidelines before uploading.
STEP 10
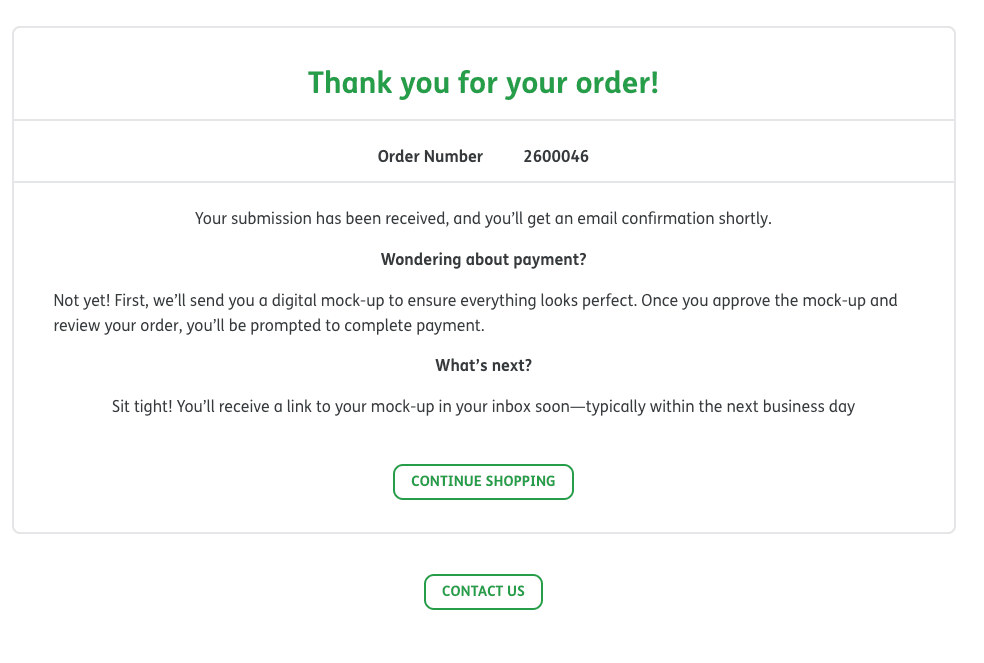
Thank you for your order
Once you place your order, we'll create a digital mock-up for your approval. We'll contact you beforehand if any information is missing to complete the mock-up. Within 48 hours of submitting your order, you will receive an email containing a link to our portal where you can view your order and mock-ups.
STEP 11
Approve your mock-up
Click the link in the email and visit the portal.
Please carefully:
- Verify quantities and pricing
- Open and review the PDF mock-ups
- Request any changes if needed
Once everything looks correct, click Approve and submit the 50% deposit. After your deposit is received, your order will move into production. When your order is complete, the remaining 50% balance will be automatically charged at the time of shipping or when you receive a pickup notification.