Nailing Your Custom T-Shirt Design: Sizing, Placement, and File Prep for Perfect Prints
Blog post by GetBold
Published at Mon Jun 10 2024
Published at Mon Jun 10 2024
Have you ever designed a killer graphic for your custom t-shirts, only to have it look off when printed? Don't worry, GetBold is here to guide you through the process of preparing your artwork for flawless results.
This post dives deep into:
- Strategic Sizing: Learn how to size your design for different shirt sizes and styles (adult, youth, toddler) to ensure a balanced, professional look.
- Placement Prowess: Discover the optimal placement zones for your graphic, from classic chest designs to eye-catching full-back prints.
- File Format Finesse: Grasp the technical aspects of file preparation, including resolution (300 dpi) and vectorization for crisp, high-quality printing.
Mastering T-Shirt Design Size and Placement
Balancing Looks Across Sizes:
A key to a cohesive design is maintaining a good size ratio across different shirt sizes. A general rule is to allow 5-8 inches of space on either side of your graphic. This ensures it remains visible and avoids awkward scaling on larger sizes.
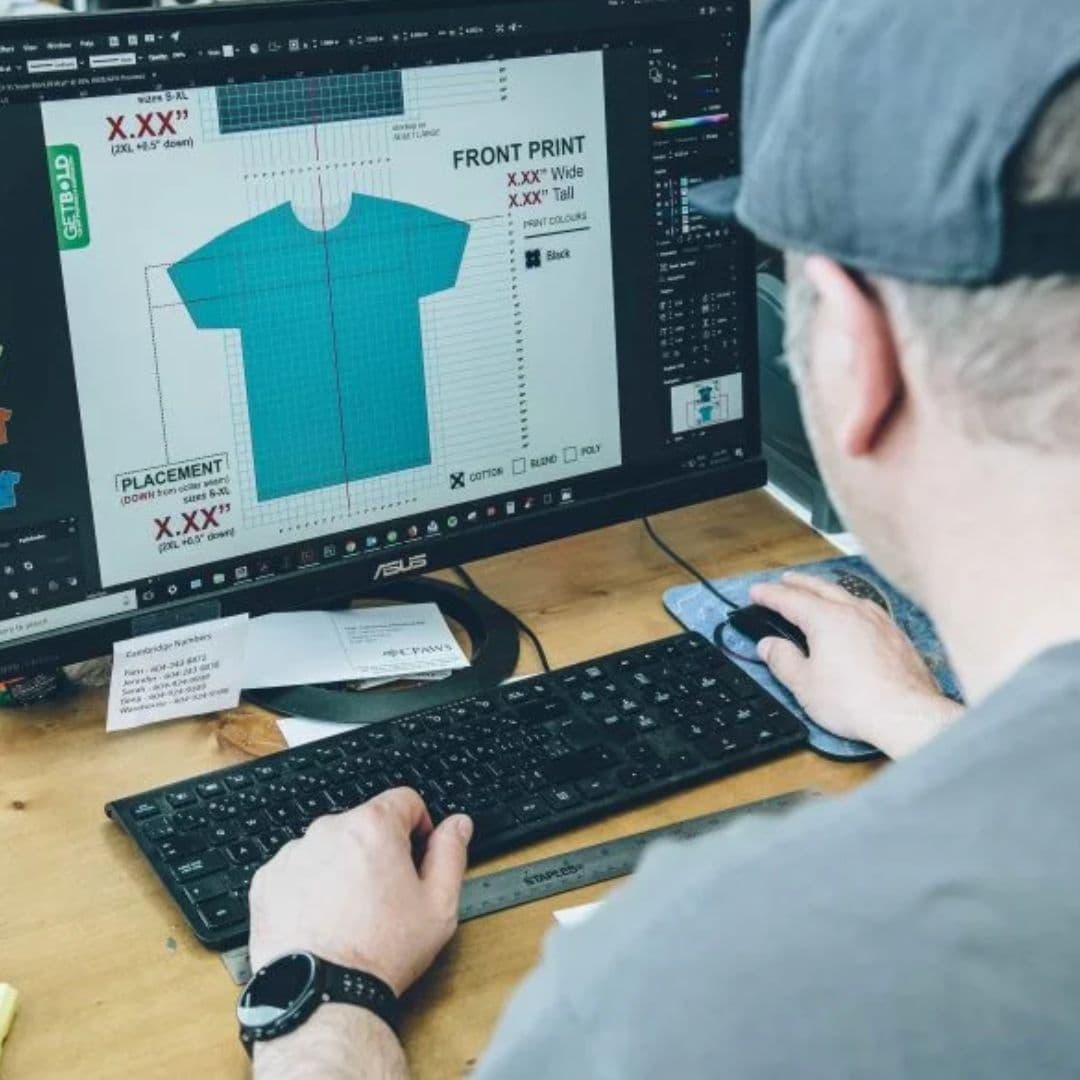
Placement Pointers:
- Classic Chest: For logos, text, or simple artwork, center your design 2.5-3 inches below the collar for optimal visibility.
- Full-Front Freedom: Unleash your creativity with large-scale designs that cover most of the front of the shirt.
- Sleeve Statements: Make a bold statement with graphics placed on the upper or middle portion of the sleeve, avoiding areas near the armpit or seams.
- Back Bonanza: Utilize the entire back panel for detailed artwork or impactful messages.
Remember: Your chosen printing method (screen printing, embroidery, applique) might influence placement options.
Colour Coordination: Design Meets Fabric
Don't let your design get lost in a sea of fabric! Consider the shirt colour when finalizing your design. Here are some tips:
- High Contrast is King: For dark-colored shirts, opt for lighter or brighter graphics to ensure readability.
- Neutrality is Your Friend: Bold, vibrant designs often shine on neutral-coloured shirts (think greys and whites).
- Target Audience Matters: Tailor your colour choices to your target demographic. For example, children's shirts might benefit from brighter colours.
File Preparation for Flawless Printing
Targeting the Right Format:
- Screen Printing: Artwork should be sized to the final print dimensions and saved at 300 dpi (dots per inch) for optimal resolution. Vector files are also accepted for maximum scalability and crisp printing.
- Embroidery & Applique: Use embroidery templates (often available from your printer) as a guide for sizing, placement, and colour selection. Remember to convert fonts to outlines to avoid font recognition issues.
Pro Tip: "Outlining" your text converts it into universal graphic art.
Get Bold with Confidence
By following these tips and leveraging GetBold's expertise, you can ensure your custom t-shirt design is perfectly sized, placed, and formatted for a professional and impactful end product.
Ready to Get Bold? We're here to help every step of the way, from design consultation to printing. Contact us today for a free quote or visit our Vancouver, BC location!